

Computational Module 0 Part A: Software Setup.
Estimated time needed: less than 30 minuts.
Welcome to Computational Materials! In this course, you will be running simulations on our computer cluster known as the FRI cluster. The FRI cluster is running a Linux operating system and requires a secure shell client (SSH) to access the machine.FRI is an old cluster with 35 compute nodes, each compute node has a 24-core Intel(R) Xeon(R) E5-2670 CPU.
We are expecting a new cluster, Banff, which will have 47 compute nodes, each with a 224-core AMD EPYC 9724 CPU.
In this module you will:
- Install the software needed access the FRI cluster on your personal laptop,
- Create a unique ssh key needed to access our computer cluster,
- Submit this key to the Canvas assignment,
- Install software needed for ssh connections and visualizations,
- Get your AI-of-choice.
Then, follow these instructions to install UT VPN software (Cisco Any Connect). You need to be connected to UT-VPN to access our machines. If you are not in the UT VPN, you'll get connection time out errors when you attempt to connect to our machines.
Next: Only follow instructions specific to your machine type: Windows or Mac
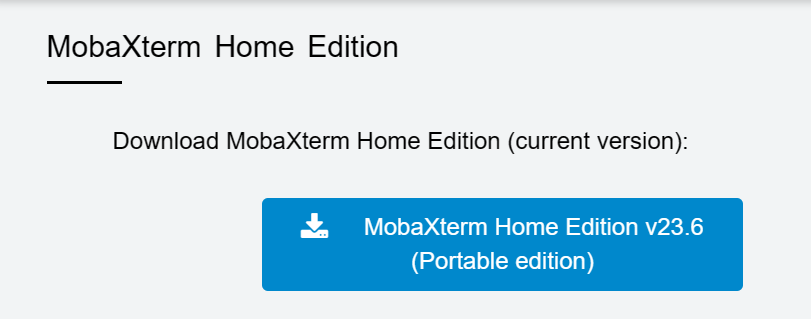
- Install the software MobaXterm Home Edition (the free version). It doesn't matter if you choose the portable version or the installed version.
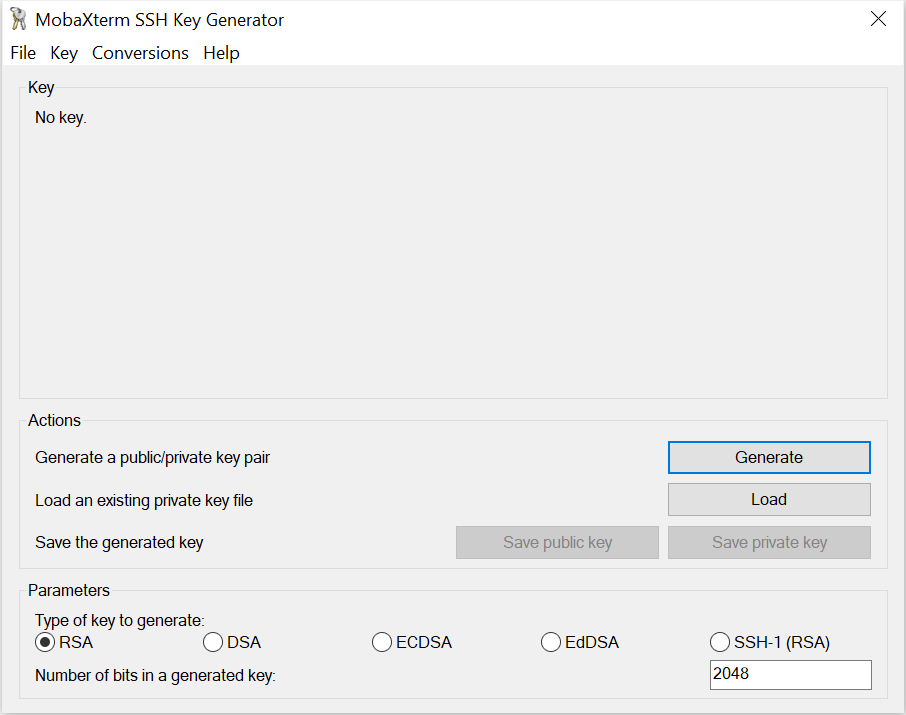
- Run MobaXterm and set up a SSH key if you don't have one already. In the menu bar, click "Tools". In the drop down menu, click MobaKeyGen.

In the new window, click "Generate", then follow instructions and move your mouse in the blank area.
- Once enough movement is generated, you will see your key displayed. Make sure to save both the public key file and the private key file somewhere you'll remember such as under Documents. Do not store them on your Desktop!.
Keep your private key secure, because whoever gets your private key becomes you. Upload the public key file to the Canvas assignment "public key".
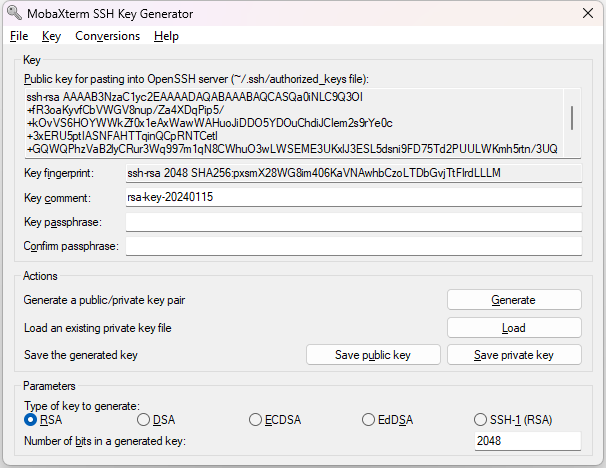
Note that this private key shown in the example is never used. You should never allow others to see your private key. - Upload the text in the public key to the Canvas ssh-key assignment.
- Windows users are strongly recommended to install WSL (Windows Subsystem Linux). WSL 1 will work with VPN. WSL 2 with mirrored networking supposedly should also work with vpn but I haven't tested it yet.
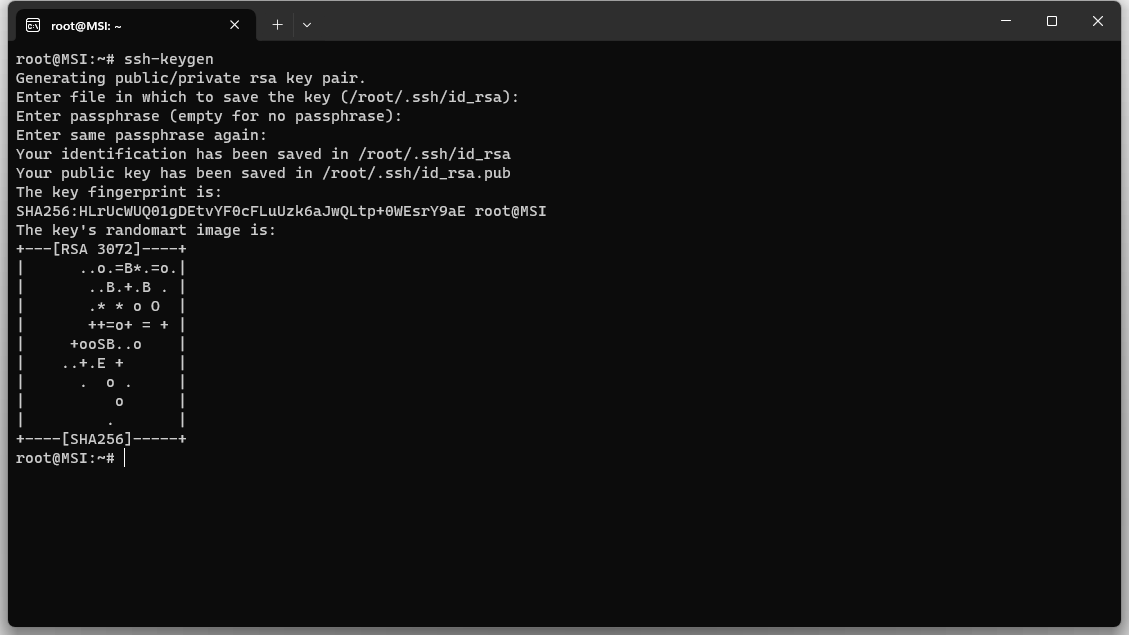
- Open the app "Terminal" and type the command
ssh-keygen
- Follow the instructions to set the path/location for your files (hit enter without typing anything to use the default path), then set up (or not) a passphrase for your key files.
Once it's set up, you'll get your command line back. Below is a sample output.
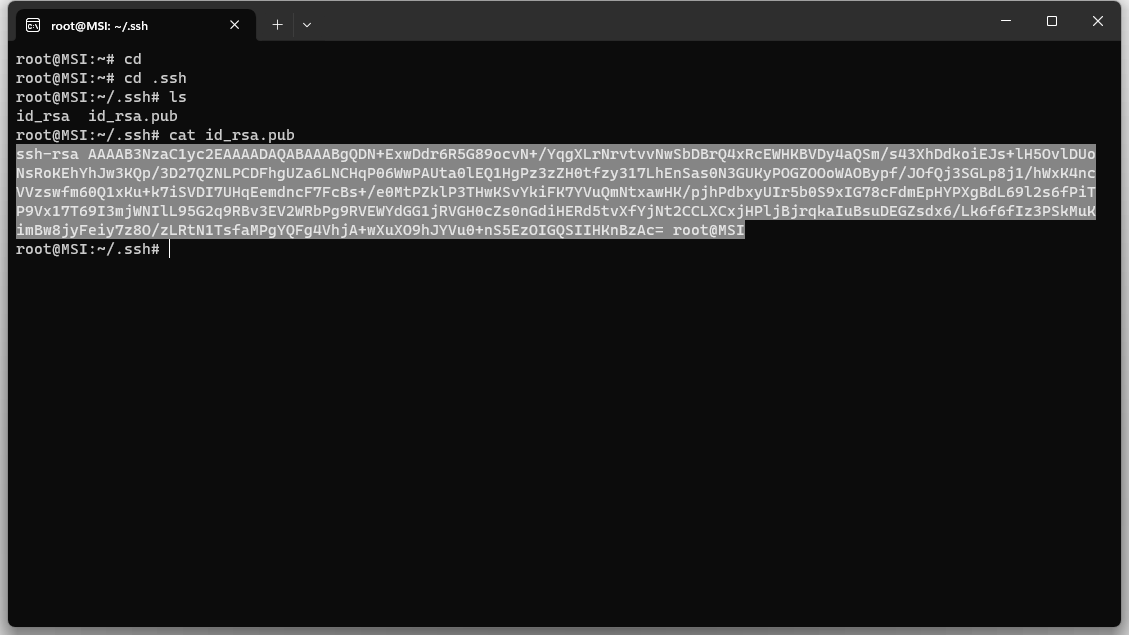
- To see your key files, use the following commands: first cd, this will take you to your home directory. Secondcd .ssh, this will take you to the .ssh/ directory. Thirdls, this will show the content in your current directory. Lastlycat id_rsa.pub. This will display the content of the file "id_rsa.pub". Copy the text and submit it to the Canvas assignment "public key". Below are sample outputs.
- Lastly, Mac users need to install XQuartz .
Last but not the least, make an account with an AI platform of your choice, such as ChatGPT, Google Gemini, Claude, etc. I have only used ChatGPT, but a free account with any of these three should suffice for your needs.